Carving a Detailed Feather in a Box Frame
Part 1
In this three-part video series, I guide you through every stage of carving a detailed feather from lime wood, designed to be mounted in a box frame for display.
The tutorials cover everything you need to know, including wood selection, tool choice and handling, safe clamping methods, practical safety tips, and time-saving techniques. You’ll also learn how to carve fine details and apply a clean, professional finish.
Across more than two hours of video instruction, you’ll see each step of the process demonstrated clearly. While this project is simple and efficient, the techniques shown are the same ones used in more advanced carvings that require precision and fine detail.
This is an ideal project for both beginners and experienced wood carvers looking to refine their skills.
Follow the link below to see Part Two.
Carving a Detailed Feather in a Box Frame
Part 2
In Part 2 of this three-part series, we continue shaping the feather and begin refining its form and texture. You’ll see how to use controlled cuts to define the main features, establish the feather’s natural flow, and start adding finer details. Techniques for maintaining accuracy, managing tool control, and working efficiently are all demonstrated step by step, helping you build confidence as the carving takes shape.
Carving a Detailed Feather in a Box Frame
Part 3
In Part 3 of this series, we complete the feather by adding the final details and preparing it for display. You’ll learn how to refine delicate textures, clean up the edges, and apply finishing touches that bring the carving to life. The tutorial also covers sanding (if desired), oiling and waxing, and mounting the finished piece in a box frame — completing the project from start to finish.
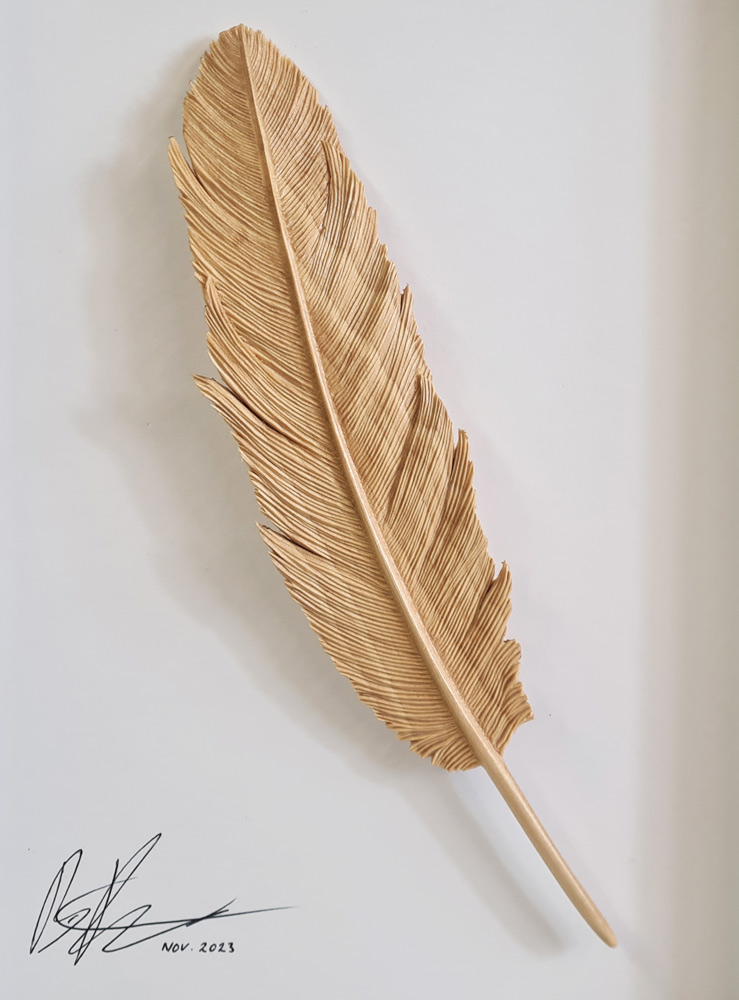
Resources and Useful Information
Included with this video tutorial are two downloadable PDF documents, accessible via the buttons below:
A printable template to use as demonstrated in the video.
A reference image of the original feather from which the template was created.
Please see my Terms and Conditions for use of these materials.
Tools Used:
This list of tools is not in any way a rigid requirement, but they are listed to give an idea of the tools that can be used and are just the ones that I happened to use on this occasion.
30mm number 2 straight gouge
1″ number 9 straight gouge
1/4″ 60 degree straight V-tool
3mm number 9 gouge
20mm number 1 straight chisel
6mm number2 fishtail
Swann Morton number 4 scaplel handle with number 26 blade
Abrasive: grades 180, 240, 320, 400.